How to Plan and Build the Perfect Garden Shed: A Step-by-Step Guide
This post may contain affiliate links which means we may receive a commission for purchases made through links. Read more on our Affiliate Disclosure Page.
Building your own garden shed can be one of the most satisfying DIY projects you’ll ever take on. If you’re looking for a place to store your gardening tools, create a quiet workspace, or simply add some extra storage to your property, a well-planned shed can meet your needs perfectly. But here’s the thing—getting it right requires more than just picking up a hammer and some nails. Proper planning, choosing the right materials, and designing with your specific needs in mind are all key to creating a shed that’s both functional and durable.
In this guide, we’re going to walk you through the entire process of planning and building your own garden shed, step by step. Along the way, we’ll share tips and insights that will help you avoid common pitfalls, and we’ll point you toward resources that can make your project smoother and more successful. Whether you’re a seasoned DIYer or new to construction, this guide will equip you with everything you need to build a shed that you’ll be proud of for years to come.
Step 1: Initial Planning
Before you pick up a single tool, let’s take a moment to plan your perfect garden shed. This is a crucial first step that will save you time, money, and potential headaches down the road.
Assess Your Needs
First things first: what’s your shed’s main job? Are you looking for a simple storage solution for your lawnmower and garden tools, or are you dreaming of a workshop where you can tinker to your heart’s content? Maybe you’re envisioning a serene potting shed for your gardening passion. Whatever your goal, defining it now will guide all your future decisions.
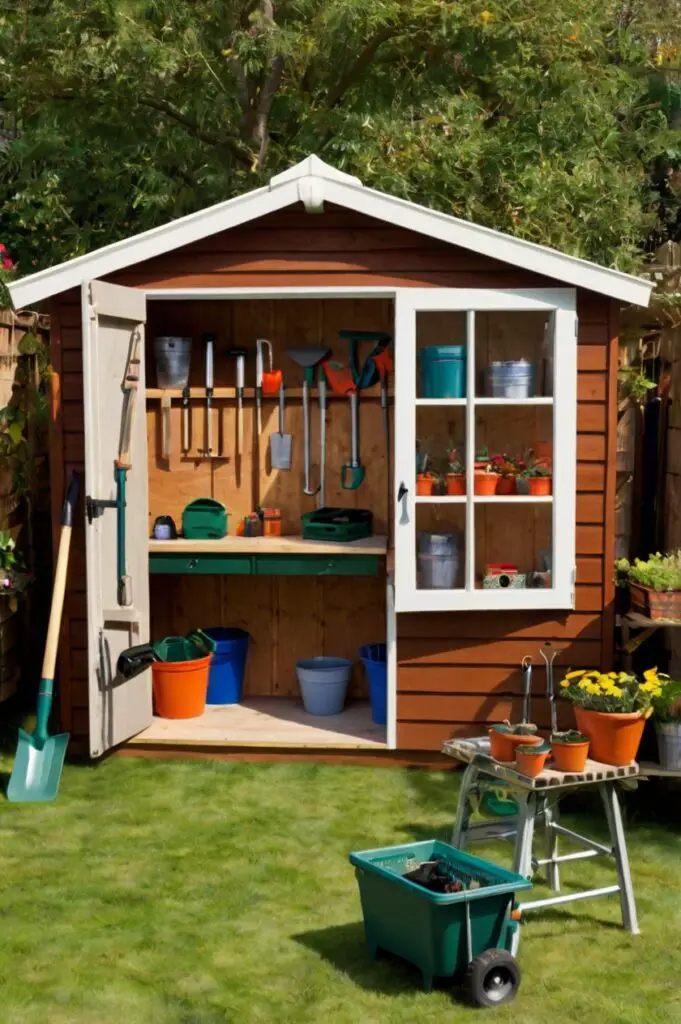
Once you’ve nailed down the primary purpose, it’s time to think about size. Take inventory of everything you plan to store in your shed. Don’t forget to account for items you might acquire in the future – trust us, your shed has a funny way of filling up faster than you’d expect! A good rule of thumb is to estimate your space needs, then add about 25% for good measure. This extra space will give you room to move around comfortably and maybe even add a workbench or some shelves.
Choose the Right Location
Now that you know what you’re building, let’s figure out where to put it. The perfect spot for your garden shed is like prime real estate – it’s all about location, location, location!
First, look for a well-drained, level area. A soggy foundation is a recipe for disaster, so avoid low spots where water tends to collect. If your yard has a slight slope, don’t worry – we’ll talk about how to level the ground in a later section.

Consider access as well. You’ll want a clear, easy path to your shed, especially if you’ll be wheeling in heavy equipment like lawnmowers. Think about proximity to your home too. Close enough for convenience, but not so close that it dominates your view or living space.
If you’re planning to use your shed as a workspace or potting shed, you might want some natural light. On the other hand, if you’re storing temperature-sensitive items, you might prefer a shadier spot to keep things cool.
Check Local Regulations
Before you get too attached to your shed plans, it’s a smart idea to check in with your local authorities. Building regulations and zoning laws can vary widely from one area to another, and the last thing you want is to build the shed of your dreams only to find out it doesn’t comply with local rules.
Start by contacting your local building department or checking their website. You’ll want to find out:
- Do you need a permit to build your shed?
- Are there restrictions on the size or height of structures in your area?
- How close can your shed be to your property line or other structures?
- Are there any design requirements or restrictions?
Some areas have specific rules about what materials you can use or even the color of your shed. It might seem like a hassle now, but taking the time to understand and follow these regulations will save you a world of trouble down the line.
Remember, these initial planning steps are the foundation of your perfect garden shed. By carefully assessing your needs, choosing the right location, and ensuring you’re in compliance with local regulations, you’re setting yourself up for a smooth and successful shed-building journey. In our next section, we’ll dive into the exciting world of shed design – so stay tuned!
Step 2: Designing Your Garden Shed
Now that you’ve laid the groundwork, it’s time for the fun part – designing your garden shed! This is where your vision starts to take shape, and you get to flex those creative muscles.
Sketch Your Design
Let’s start with the basics. Grab a pencil and paper (or your favorite digital design tool if you’re tech-savvy) and start sketching out your ideas. Don’t worry if you’re not an artist – even a rough drawing can help you visualize your shed and catch potential issues early.
Begin with the floor plan. How big will your shed be? Where will you place the door? Any windows? Think about how you’ll move around inside and where you’ll store larger items.
Next, consider the roof style. A simple gable roof (think of an upside-down V) is classic and effective, but you might prefer a lean-to style for a modern look, or a gambrel roof for that charming barn aesthetic. Your roof choice affects not only the appearance but also the interior space and water runoff.
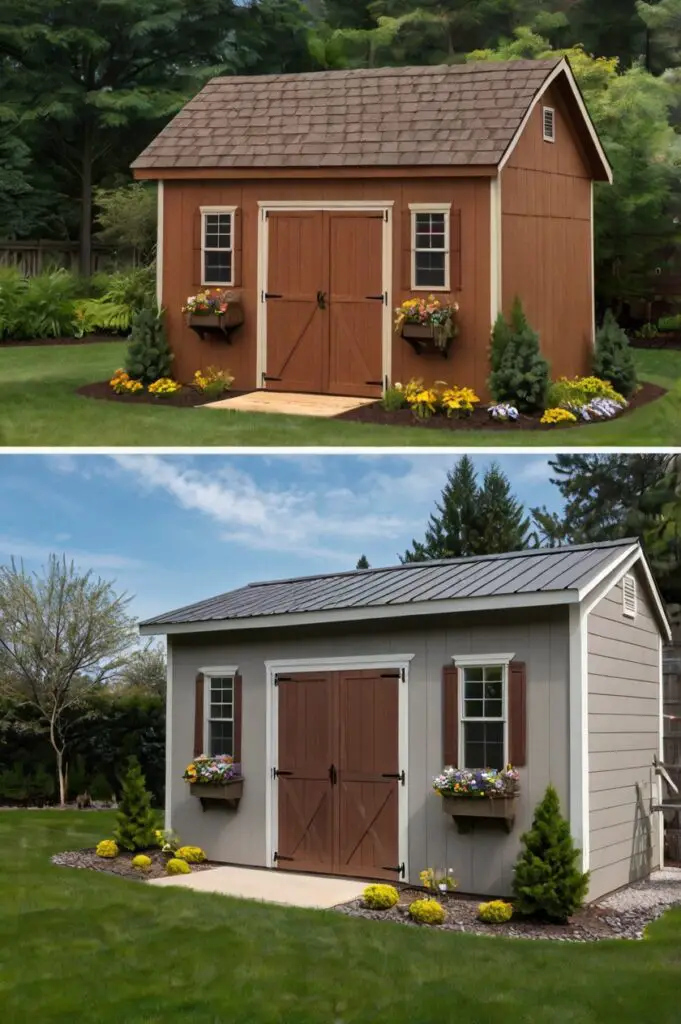
As you sketch, imagine how your shed will look in your garden. Will it complement your home’s architecture? How will it fit with the surrounding landscape? A well-designed shed should enhance your outdoor space, not stick out like a sore thumb.
Consider Custom Features
Here’s where you can really make your shed your own. Think about built-in storage solutions like shelving units, pegboards for tools, or a loft space for extra storage. If you’re planning to use your shed as a workshop, consider adding a sturdy workbench or specific areas for different tasks.
Don’t forget about comfort and convenience. Good lighting is essential, especially if you’ll be spending time working in the shed. Consider both artificial lighting and natural light from windows or a skylight. Proper ventilation is also crucial to prevent moisture buildup and keep your shed comfortable in warmer months.
Other custom features might include:
- Exterior details like window boxes or decorative trim
- A covered porch area for outdoor work or relaxation
- Specialized storage for specific tools or equipment
- Electrical outlets for power tools or a mini-fridge
- Insulation for year-round use
The goal is to create a space that’s not just functional, but a joy to use. A little personalization will go a long way in making your shed truly feel like an extension of your home.
Using Professional Plans
While sketching your own design can be fun, there’s a lot to be said for using professional shed plans. Here’s where a resource like MyShedPlans can be incredibly valuable. Professional plans offer several advantages:
- Detailed measurements and material lists
- Step-by-step instructions that take the guesswork out of building
- Tried-and-tested designs that ensure structural integrity
- A wide variety of styles to choose from
- Customization options to suit your specific needs
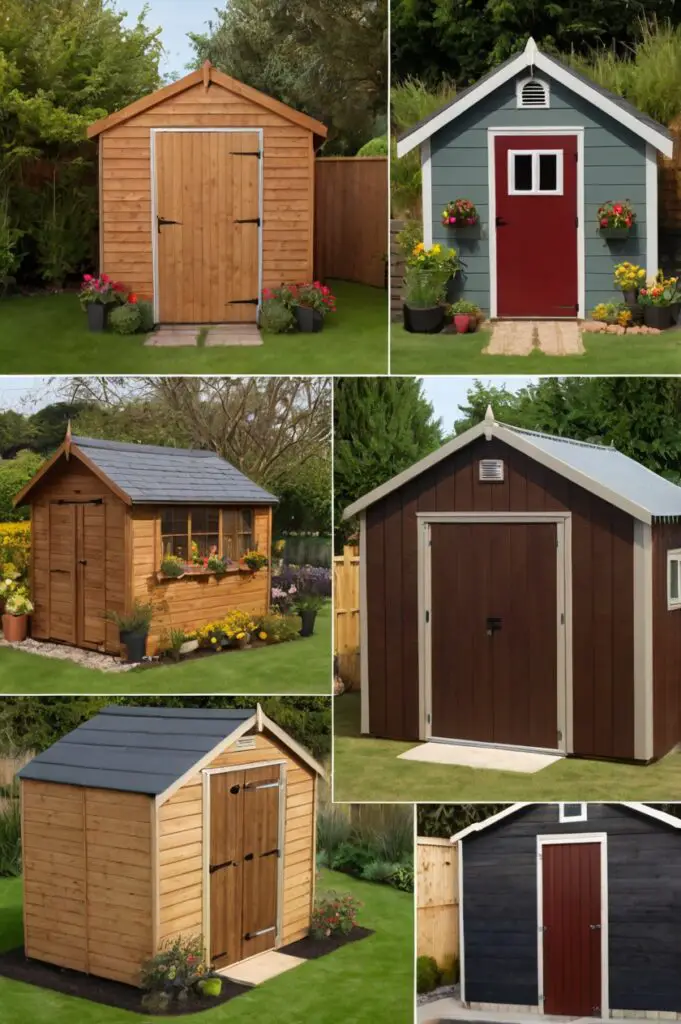
Using professional plans doesn’t mean sacrificing creativity. Think of them as a solid foundation that you can build upon with your own custom touches. They can save you time, reduce the risk of costly mistakes, and give you the confidence to tackle your shed-building project like a pro.
Whether you’re using professional plans or designing from scratch, remember that flexibility is key. As you move through the building process, you might need to make adjustments. That’s all part of the fun of any DIY project!

Step 3: Selecting Materials
It’s important to chose the right materials in order to create a shed that’s durable, functional, and looks great in your garden. Let’s break it down into three key areas:
Foundation Options
Your shed’s foundation is literally what everything else rests on, so it’s important to get it right. Here are the main options to consider:
| Foundation Type | Pros | Cons |
|---|---|---|
| Concrete Slab | – Extremely durable – Provides a level surface – Deters pests | – Permanent – Can be expensive – Requires skill to install properly |
| Gravel | – Inexpensive – Provides good drainage – Easy to install | – Less stable than concrete – May settle over time |
| Wood Foundation | – Raises the shed off the ground – Good for uneven terrain – Relatively easy to DIY | – Can rot if not properly treated and maintained |
Your choice will ultimately depend on your budget, the terrain, and local climate. In areas with high moisture, a raised wood foundation might be best. For a long-term, low-maintenance option, concrete is hard to beat.
Choosing Building Materials
The main structure of your shed will typically be wood, metal, or plastic. Here’s a quick rundown:
| Material | Pros | Cons |
|---|---|---|
| Wood | – Versatile – Easy to work with – Can be painted or stained to match your home | – Requires more maintenance to prevent rot and insect damage |
| Metal | – Durable – Low maintenance – Often less expensive than wood | – Can rust over time – May dent – Some find the appearance less appealing |
| Plastic | – Lightweight – Very low maintenance – Resistant to rot and insects | – Limited customization options – May not stand up to extreme weather as well |
For a classic look and maximum customization, wood is often the go-to choice. However, if you’re in a humid climate or looking for a low-maintenance option, metal or plastic might be worth considering.
Roofing and Siding Options
Your roof and siding not only protect your shed from the elements but also contribute significantly to its overall appearance.
Roofing:
- Asphalt Shingles: Affordable and easy to install, but have a shorter lifespan.
- Metal Roofing: Durable and long-lasting, but can be more expensive.
- Wood Shakes: Offer a rustic look, but require more maintenance.
Consider matching your shed’s roof to your house for a cohesive look. Don’t forget to factor in your local climate – metal roofs are great for shedding snow in colder regions.
Siding:
- Wood: Classic look, can be painted or stained, but requires regular maintenance.
- Vinyl: Low maintenance and comes in many colors, but can crack in extreme cold.
- Composite: Offers the look of wood with less maintenance, but can be pricier.
When choosing siding, think about how it will weather in your climate and how it fits with the style of your home and garden.
The best materials for your garden shed are those that balance your budget, maintenance preferences, and aesthetic desires. Don’t be afraid to mix and match – a wood frame with metal roofing can offer a great blend of classic looks and durability.
As you select your materials, keep an eye out for sales at your local hardware store. Buying materials off-season can sometimes lead to significant savings.
Step 4: Building the Shed
Alright, DIY enthusiasts, it’s time to roll up those sleeves and bring your garden shed plans to life! This is where all your careful planning and material selection pays off. Let’s break down the building process into manageable steps:
Preparing the Site
- Clear the area: Remove any grass, rocks, or debris. You want a clean slate to work with.
- Level the ground: This is crucial for your shed’s stability. Here’s how to do it:
- Use a long level (at least 8 feet) to check the area’s current state.
- For minor unevenness, remove high spots with a shovel and fill in low spots with soil or sand.
- For more significant slopes, you may need to build up the low side with layers of compacted gravel.
- Use a plate compactor to ensure the soil or gravel is firmly packed.
- Recheck with your level, adjusting until the entire area is level.
- Mark your layout: Use stakes and string to outline where your shed will sit. Double-check your measurements – remember, measure twice, cut once!
Pro tip: If you’re pouring a concrete slab, now’s the time to do it. Let it cure fully before moving on to the next steps.
Constructing the Frame
This is where your shed starts to take shape:
- Build the floor frame: If you’re using a wood foundation, start with pressure-treated lumber for the base. Lay out your joists according to your plans.
- Raise the walls: Pre-build your wall frames on the ground, then raise them into place. Make sure they’re plumb (perfectly vertical) before securing them.
- Frame the roof: Whether you’re going for a simple gable roof or something more complex, take your time with this step. The roof frame needs to be strong and accurately built to ensure proper water runoff.
This is sort of like a life-size puzzle. Each piece should fit snugly with the others. If something doesn’t line up, stop and figure out why before moving on.
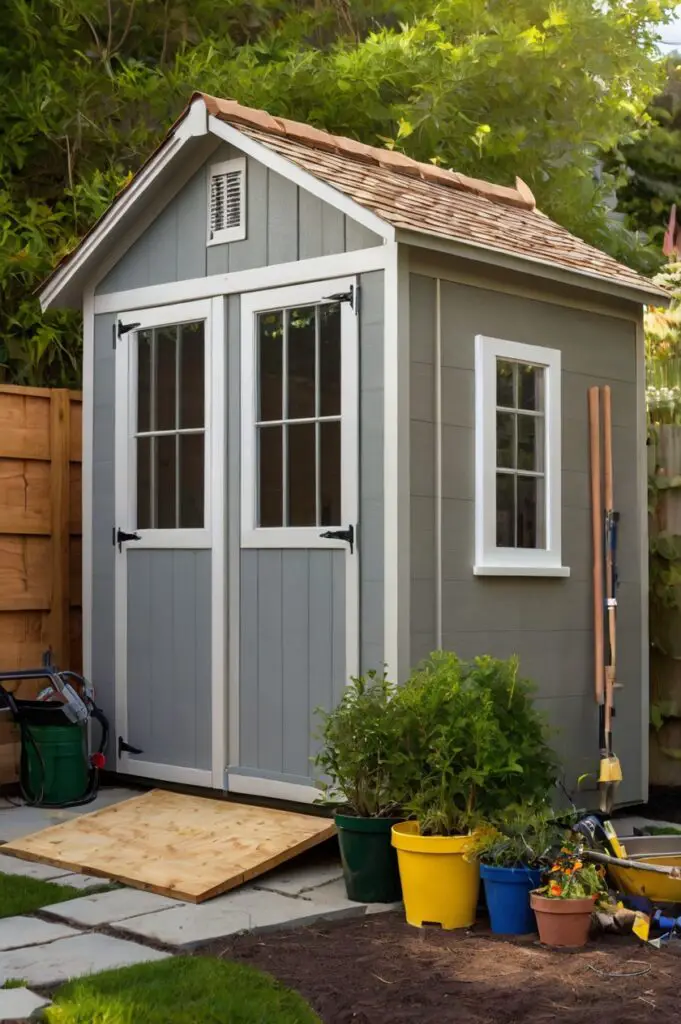
Installing Doors and Windows
Now let’s make your shed accessible and bright:
- Frame openings: Ensure your door and window openings are square and level.
- Install pre-hung doors: These are easier for DIYers to handle. Make sure the door swings smoothly before securing it permanently.
- Place windows: If you’re using pre-made windows, follow the manufacturer’s instructions carefully. Proper installation prevents drafts and leaks.
Don’t forget to caulk around your doors and windows for extra weather protection!
Final Touches
We’re in the home stretch! Here’s where your shed really becomes yours:
- Add siding: Whether you chose wood, vinyl, or another material, start at the bottom and work your way up, overlapping each piece to keep water out.
- Install roofing: Begin at the bottom edge of the roof and work your way up, overlapping shingles or metal panels as you go.
- Paint or stain: If you’re going with a natural wood look, now’s the time to stain and seal it. For painted sheds, prime first for the best results.
- Interior finishes: Install any shelving, workbenches, or organizational systems you planned.
- Little extras: Add some solar-powered lights, window boxes, or a weather vane to give your shed extra character.
Throughout the building process, don’t be afraid to take your time and ask for help if you need it. Building a shed is a big project, and an extra set of hands (and eyes) can be invaluable.
Also, keep your camera handy! Taking photos at each stage not only helps you track your progress but gives you awesome before-and-after shots to show off your hard work.
Remember, Rome wasn’t built in a day, and neither is a perfect garden shed. Enjoy the process, learn from any hiccups along the way, and soon you’ll be standing back and admiring your very own custom-built garden shed.
Step 5: Maintenance and Longevity
Congratulations, DIY champion! Your garden shed is up and looking fantastic. But let’s not stop there – with a little TLC, your shed can stay beautiful and functional for years to come. Let’s quickly tackle how to keep your shed in tip-top shape:
Routine Maintenance Tips
You’ll want to treat your shed like a mini-house so it’ll need regular check-ups to stay healthy:
- Seasonal Inspections: Make it a habit to give your shed a thorough once-over at least twice a year, ideally in spring and fall. Look for any signs of wear and tear, like loose boards, missing shingles, or cracks in the foundation.
- Keep it Clean: A quick sweep and tidy every now and then isn’t just about looks. It helps you spot potential issues early and keeps pests at bay. Plus, who doesn’t love a clean, organized shed?
- Mind the Gaps: Check for any cracks or gaps, especially around windows and doors. A little caulk can go a long way in keeping out drafts and moisture.
- Lubricate Moving Parts: Give your door hinges and locks a little squirt of WD-40 once in a while. They’ll thank you with smooth, squeak-free operation.
- Watch for Leaks: After a heavy rain, pop your head in and check for any signs of water intrusion. Catching a leak early can save you from major headaches down the road.
Pro tip: Create a simple maintenance checklist and hang it inside your shed. It’s a great reminder and helps you keep track of what’s been done.
Long-Term Care
Let’s think beyond the yearly touch-ups and focus on keeping your shed shipshape for the long haul:
- Repaint or Restain: Every 3-5 years, give your shed’s exterior a fresh coat of paint or stain. It’s not just about looks – it helps protect the material underneath from weather damage.
- Check the Roof: Your shed’s first line of defense against the elements is its roof. Replace any damaged shingles promptly, and consider a full roof replacement every 15-20 years, depending on the material.
- Foundation Fortification: Keep an eye on your shed’s foundation. If you notice any shifting or settling, address it promptly to prevent structural issues.
- Upgrade as Needed: As your needs change, don’t be afraid to upgrade your shed’s features. Maybe you need better lighting for evening DIY sessions, or perhaps it’s time for that custom pegboard organization system you’ve been dreaming about.
- Pest Prevention: Regularly check for signs of unwanted guests like rodents or insects. Keep food items out of your shed, and consider using natural deterrents like peppermint oil or cedar blocks.
Remember, a little effort goes a long way. By staying on top of maintenance, you’re not just preserving a structure – you’re protecting the hard work and creativity you poured into building your perfect garden shed.

Conclusion
And there we have it! From the first spark of an idea to the final touches and long-term care, we’ve journeyed through the entire process of planning, building, and maintaining the perfect garden shed.
Building your own shed is a rewarding experience that adds value to your home and joy to your outdoor space. You’ve created a personalized haven for your tools, hobbies, or maybe just some peace and quiet at the bottom of the garden.
Remember, if you ever feel stuck or want to explore more shed designs, resources like MyShedPlans offer a ton of ideas and detailed guides to inspire your next project. Who knows? This might be the start of a whole new DIY adventure!



Pingback: 5 Clever Ways to Use a She Shed for Extra Income – Curated Living Spaces